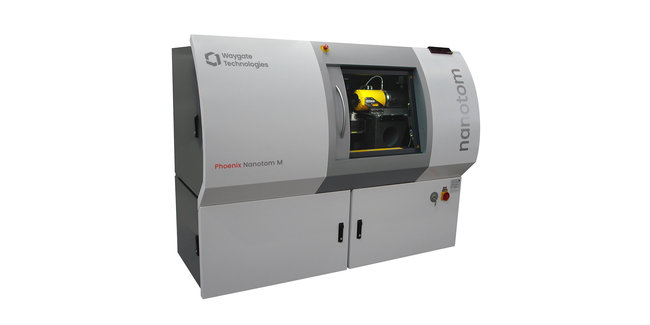
Phoenix Nanotom® M
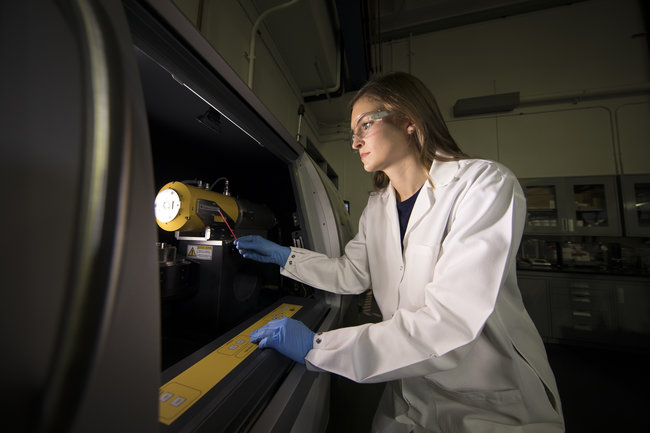
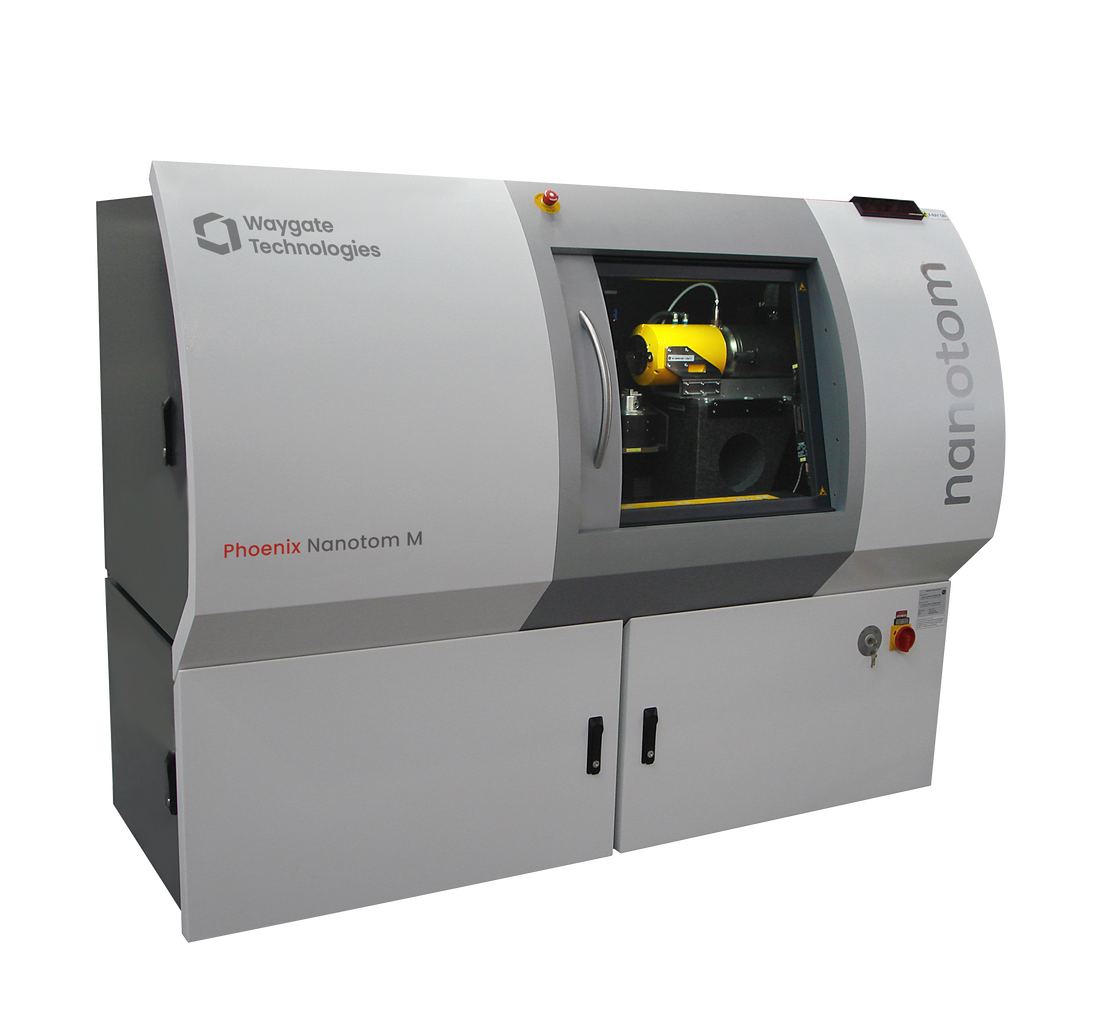
The Phoenix Nanotom® M is a nanofocus X-ray CT system for scientific and industrial computed tomography (microCT and nanoCT®) and 3D metrology. The system realizes a unique spatial and contrast resolution on a wide sample and application range. Fully automated execution of CT scan, reconstruction and analysis process ensures its ease of use and fast, reliable CT results. Precise and reproducible 3D measurements of complex objects and the automatic generation of first article inspection reports within an hour are possible.
High-resolution computed tomography (CT) has become a powerful inspection tool for a wide range of industrial and scientific inspection and metrology applications such as non-destructive structure and failure analysis as well as for quality assurance or production control.
With its 180 kV/20 W ultra-high performance nanofocus X-ray tube, precision mechanics and advanced software modules, the Phoenix Nanotom® M is the inspection solution for a wide range of 3D CT applications. Once scanned, the fully three-dimensional CT information allows many possibilities for analysis, e.g. non-destructive visualization of slices, arbitrary sectional views, or automatic pore analysis.
Highlights
Highlights
Benefits
Your Advantages:
- Unique spatial and contrast resolution on a wide sample range – from small material to medium sized plastic samples
- Also for electronics assemblies up to 240 mm in diameter, 250 mm hight and 3 kg (6.6lbs) in weight
- Optimized 3D metrology package for stable acquisition conditions, fast reconstruction within minutes and reproducible measurement results
- Optimized ease of use due to system design and advanced Phoenix Datos|x CT software
Features
The Phoenix Nanotom® M includes all essential features for CT with extremely high accuracy and reproducibility:
- Temperature stabilized cabinet
- High accuracy direct measuring system
- Vibration insulation of the manipulator
- Precision rotation unit on air bearings
- Temperature stabilized DXR detector for brilliant image quality
Applications
NanoCT can compete in many application fields with limited availabe synchrotron facililties, e.g.:
- Materials science
- Micro-engineering
- Electronics
- Life sciences/ Medical devices
- Geosciences
Open 180 kV / 20 W high-power nanofocus X-ray tube with up to 200 nm detail detectability and internal cooling – optimized for long-term stability
Extremely high image quality due to unique temperature stabilized digital DXR detector (3072 x 2400 pixels) for a high-dynamic range > 10,000 : 1
With Datos|x, the entire CT process chain can be fully automated. This minimizes operator time and influence, while highly increasing the repeatability and reproducibility of CT results
Metrology bundle for 3D metrology applications including: temperature stabilized cabinet, high accuracy direct measuring system, vibration insulation of the granite based manipulator
Optional Helix|scan capability to scan longer parts with better quality
For extremely high focal spot stability and up to 2 times faster data acquisition at the same high image quality level
Technical Specifications
Technical Specifications
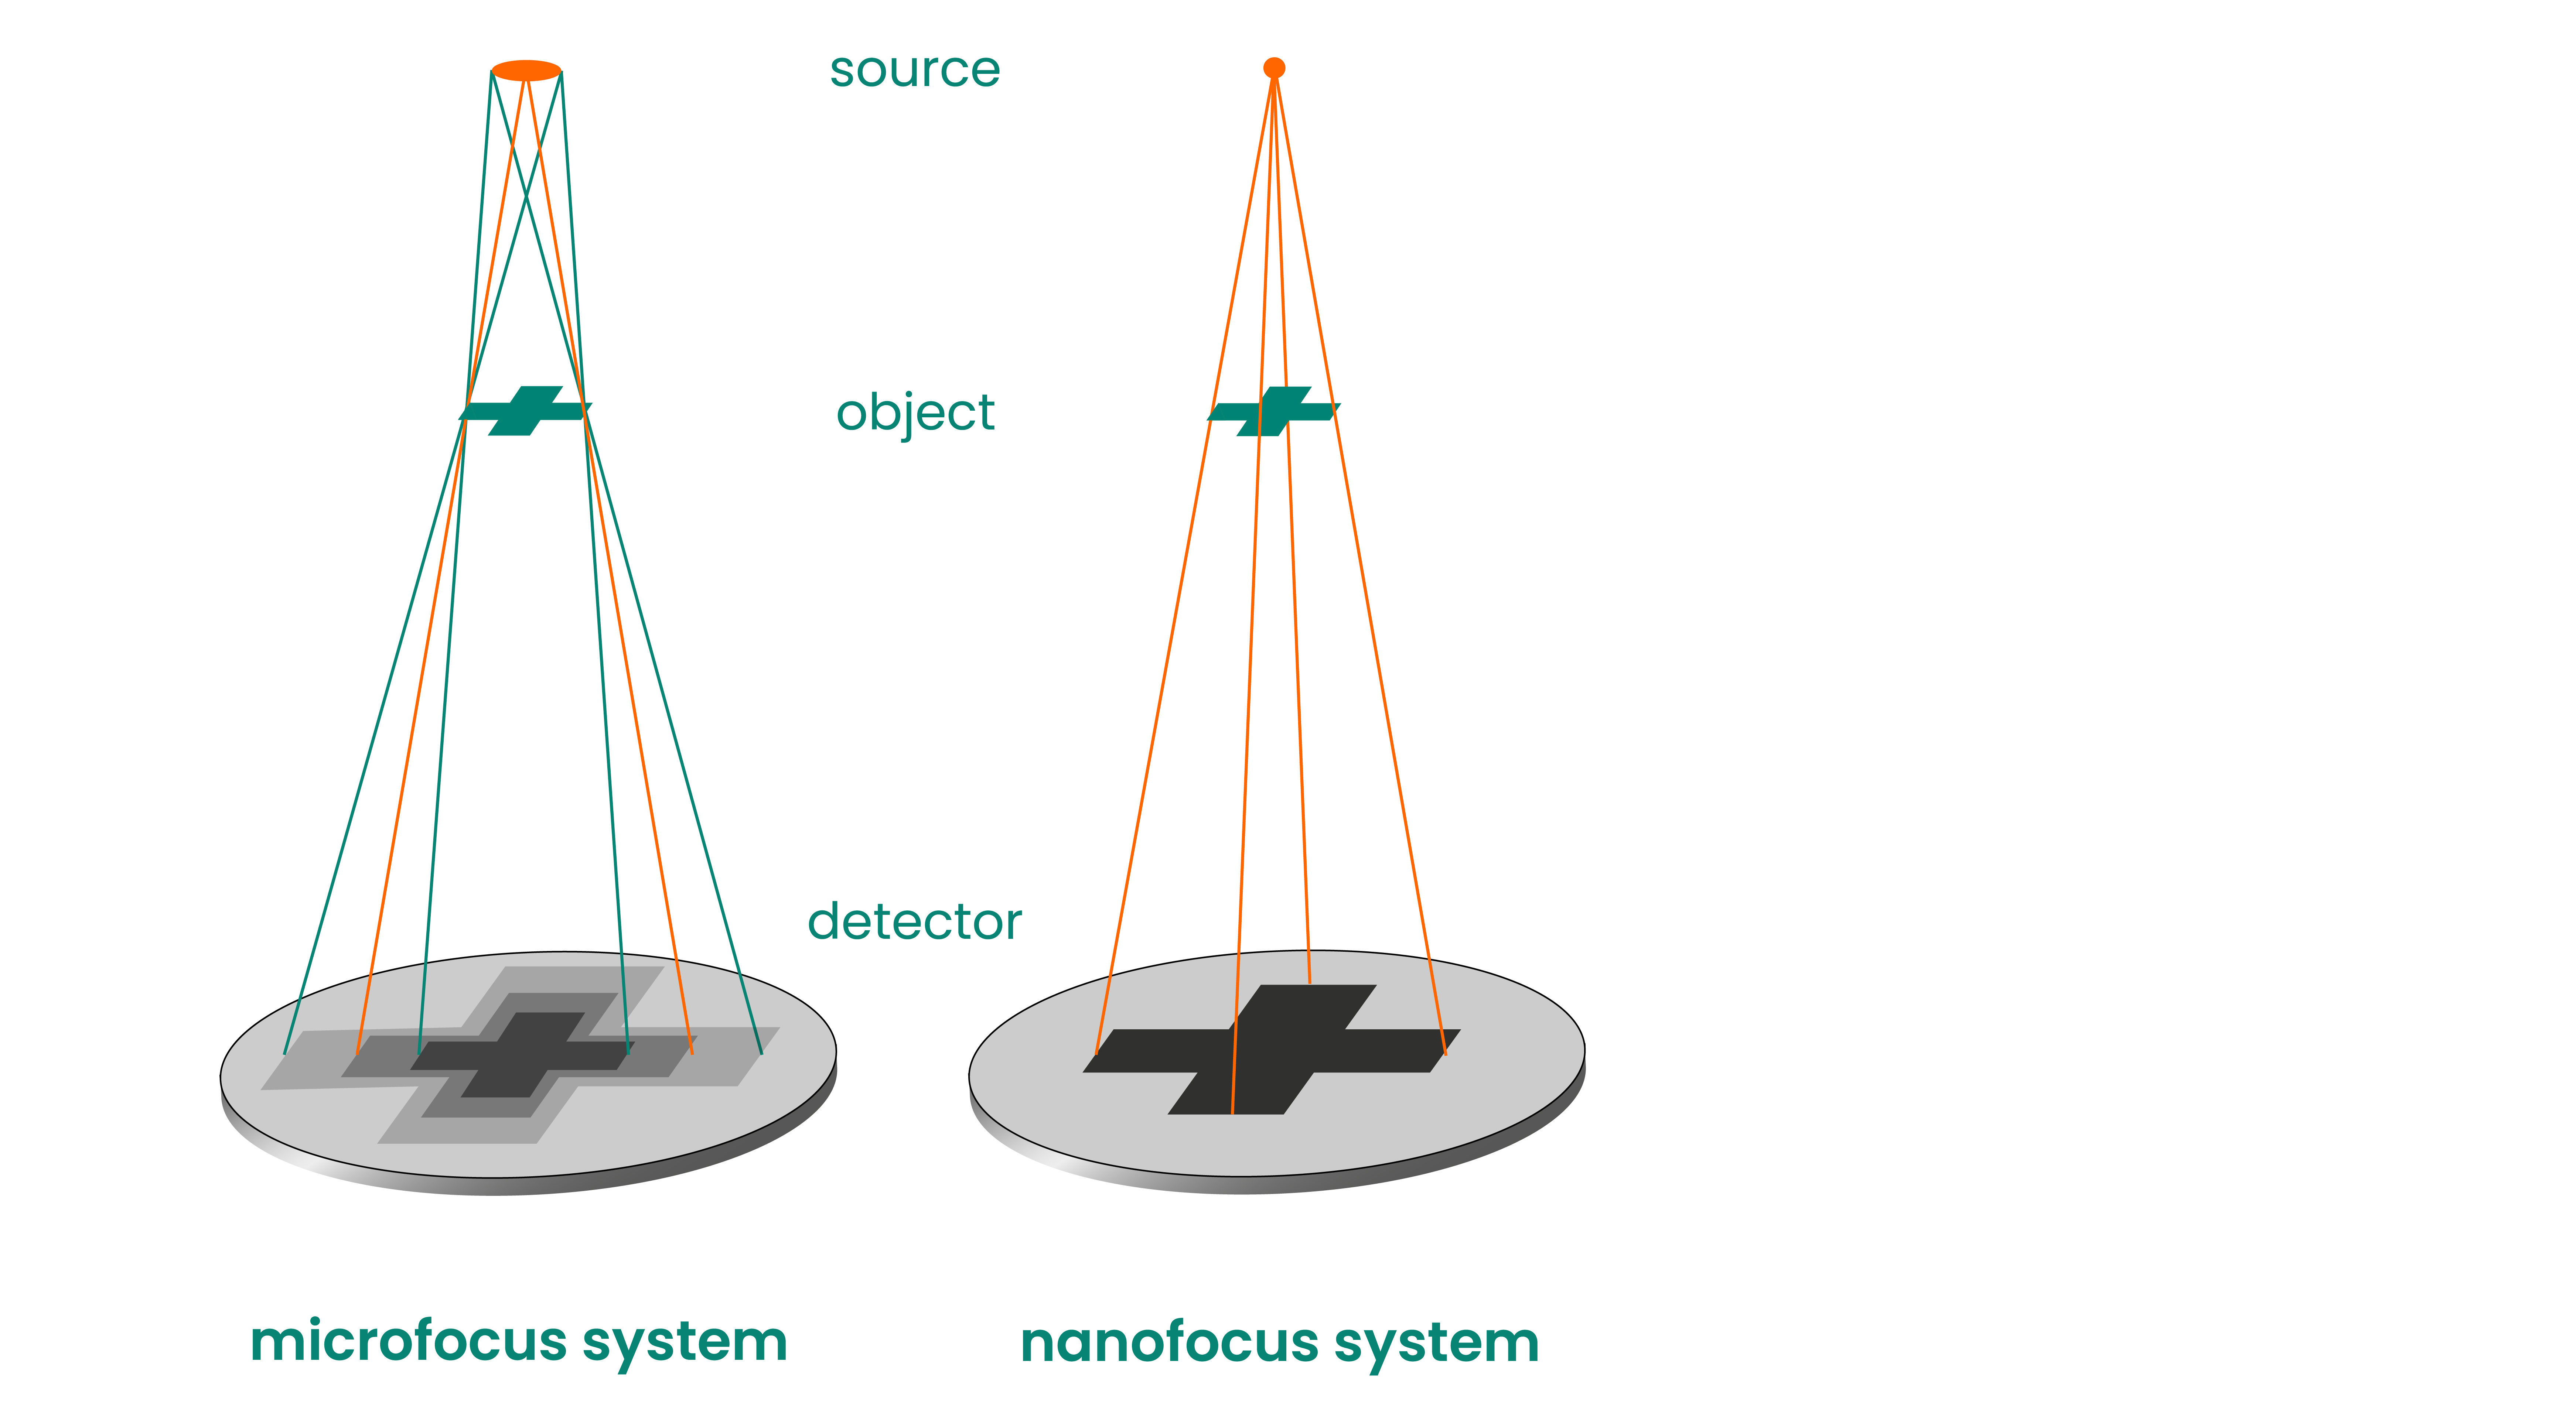
Although the focal spot of microfocus tubes is as small as a few microns, it is still large enough to cause a half shadow, known as the penumbra effect. This results in a residual unsharpness and can be avoided by using nanofocus technology. Nanofocus provides focal spots well below one micron while maintaining the highest intensity needed. The Nanotom M combines state of the art microCT with the possibility to scan small, low absorbing samples with submicron detail detectability.
Материалы о продукции
Related Categories
Learn more
Our pictures on demand
