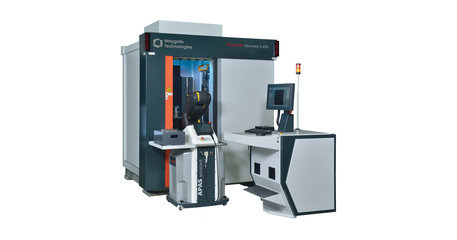
Phoenix V|tome|x C450
Inspect and measure large samples with high precision and throughout
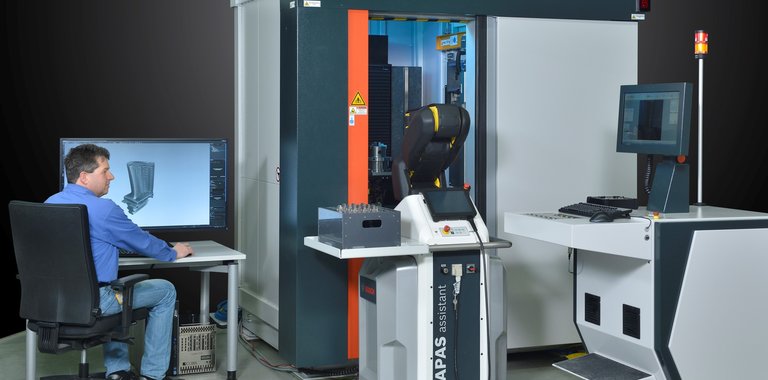
The Phoenix V|tome|x C is a high performance compact industrial 450 kV Minifocus CT system for inspection and 3D metrology of a wide applications range such as large light metal castings, turbine blades, AM parts etc. The V|tome|x C450 is also available with Mesofocus tube for more resolution.
Waygate Technologies’ patented Scatter|correct technology automatically removes most scatter artifacts from the CT volume. This technological advancement provides image quality like that achieved with conventional fan-beam scanning but at speeds up to 100 times faster.
Our Phoenix V|tome|x C is a compact 450 kV CT system with the largest possible scan volume and usable specimen weight especially for production and production-related areas such as production lines and quality assurance laboratories in battery manufacturing, in foundries and in aerospace – a flexible combination of semi-automated, non-destructive inspection and VDI 2630-1.3 specified 3D metrology.
The Phoenix V|tome|x C comes standard with our exclusive 4 MP Dynamic 41|200 next-generation photodiode design industrial X-ray detector. It provides 10x increased sensitivity relative to the state of the art 200 µm pixel size DXR detectors producing 2-3x cycle time increase without image quality impact, making inspections and measurements more efficient and productive. Compared to 16-bit detectors, the optimized 14-bit technology offers the highest efficiency with a dynamic range of 10000:1 and thus saves time in use and also generates less noise in the image. As a premium option, the 100 µm / 16 MP Dynamic 41|100 detector provides a 2x resolution increase without cycle time impact. Detection of 2x smaller defects without an increase of geometric magnification allows for the imaging of large objects at a higher resolution.
Highlights
Benefits
- Offers industry-leading sample size, flexibility, and maximum penetration power for high-absorbing samples at 450 kV
- It delivers extremely high-quality cone beam CT with the lowest possible scatter artifact level
- It's automation functionality, minimize operator time and influence, while highly increasing the repeatability and reproducibility of CT results
- With easy loading tools and automation features, it’s easier than ever to use
- Besides 3D inspection, the V|tome|x C450 can optionally be used as Metrology|edition for precision measurements of internal surfaces and features
Features
- Inspection volume up to Ø 500 mm x 1000 mm
- Granite based manipulator for parts up to 100 kg
- Best detail detectability ~100 µm with Minifocus tube and even significantly better with Mesofocus depending on the application
- In Metrology|edition, the V|tome|x C450 is the only system with a clearly defined metrology specification in its class of SD ≤ (15 ± L/50 mm) µm
- Unique detector technology for 2-3x increased CT inspection speed
- Patented Scatter|correct technology for unprecedented low artifact precision up to 100 times faster than with a comparable quality fan beam CT
- Exclusive Flash!TM image enhancement technology
- Optional Automated Defect Recognition (ADR)CT performance specified referring to ASTM E 1695 guideline
Applications
- Battery cells and modules
- Large light metal castings
- Small steel castings
- Additive manufactured parts
- Composites
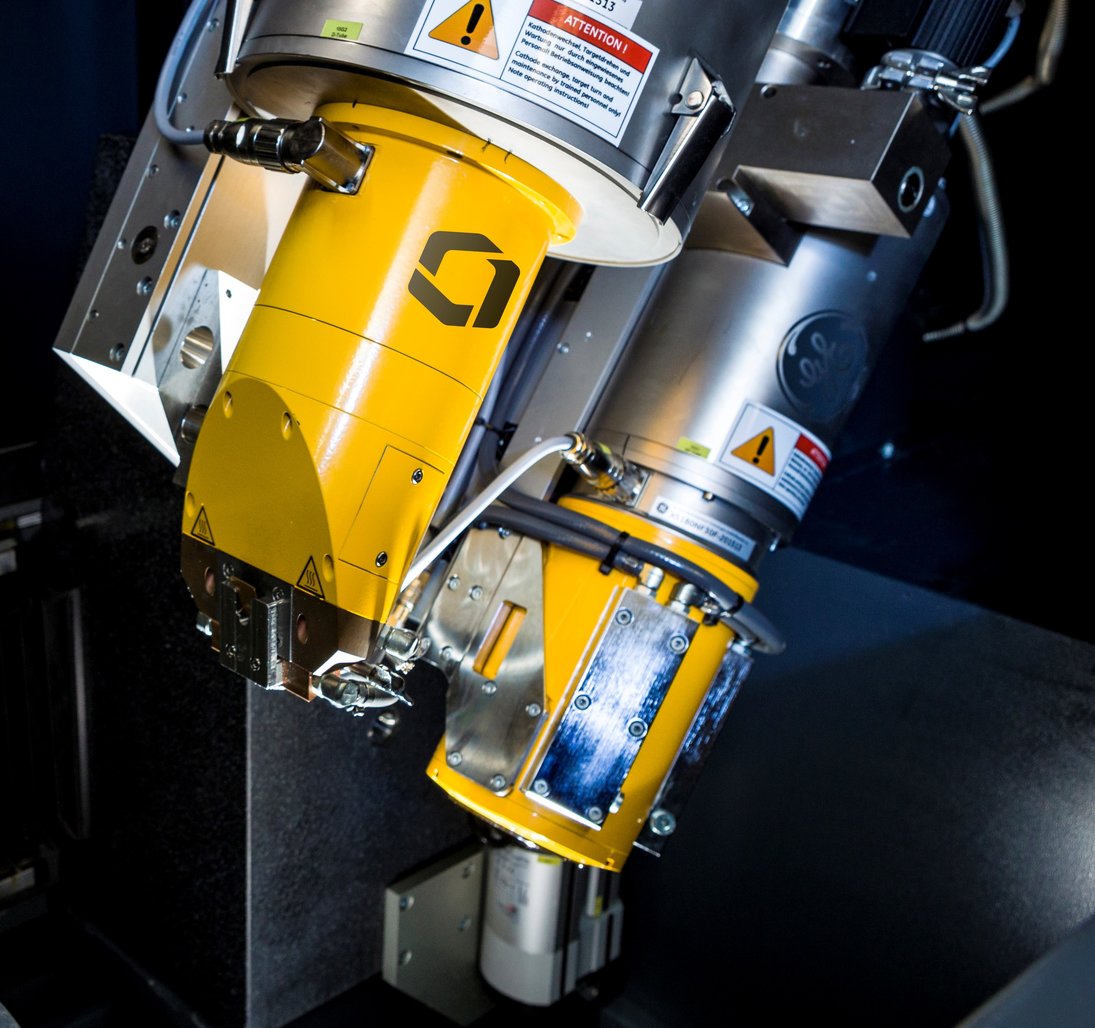
- 450 kV / 1500 W bipolar Minifocus or the optional Mesofocus X-ray tube for higher resolution – specially optimized for CT applications
- Special design for sharp CT scans of large and high absorbing samples
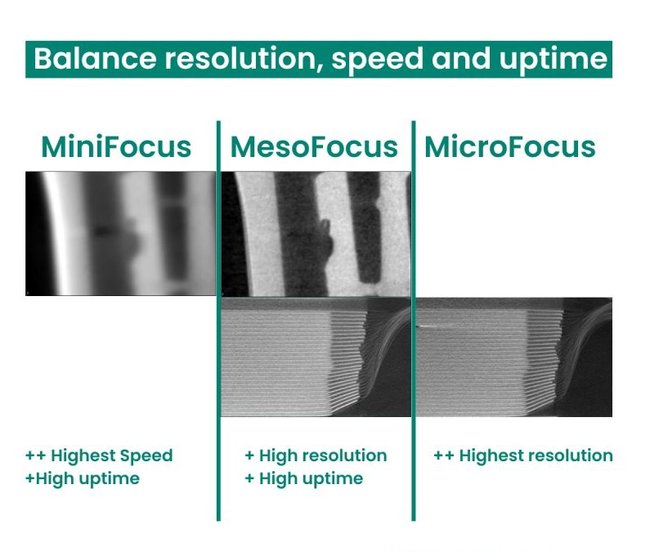
Double CT resolution at the same speed, or double throughput at the same quality level as 200 µm pitch DXR detectors. Compared to 16-bit detectors, the optimized 14-bit technology offers the highest efficiency with a dynamic range of 10000:1 and thus saves time in use and also generates less noise in the image
Scan with the click of a button for high throughputs and efficiency.
The Multi|bhc tool corrects streaking artifacts which typically occur as multiple dark streaking bands positioned between dense areas in multi-material samples
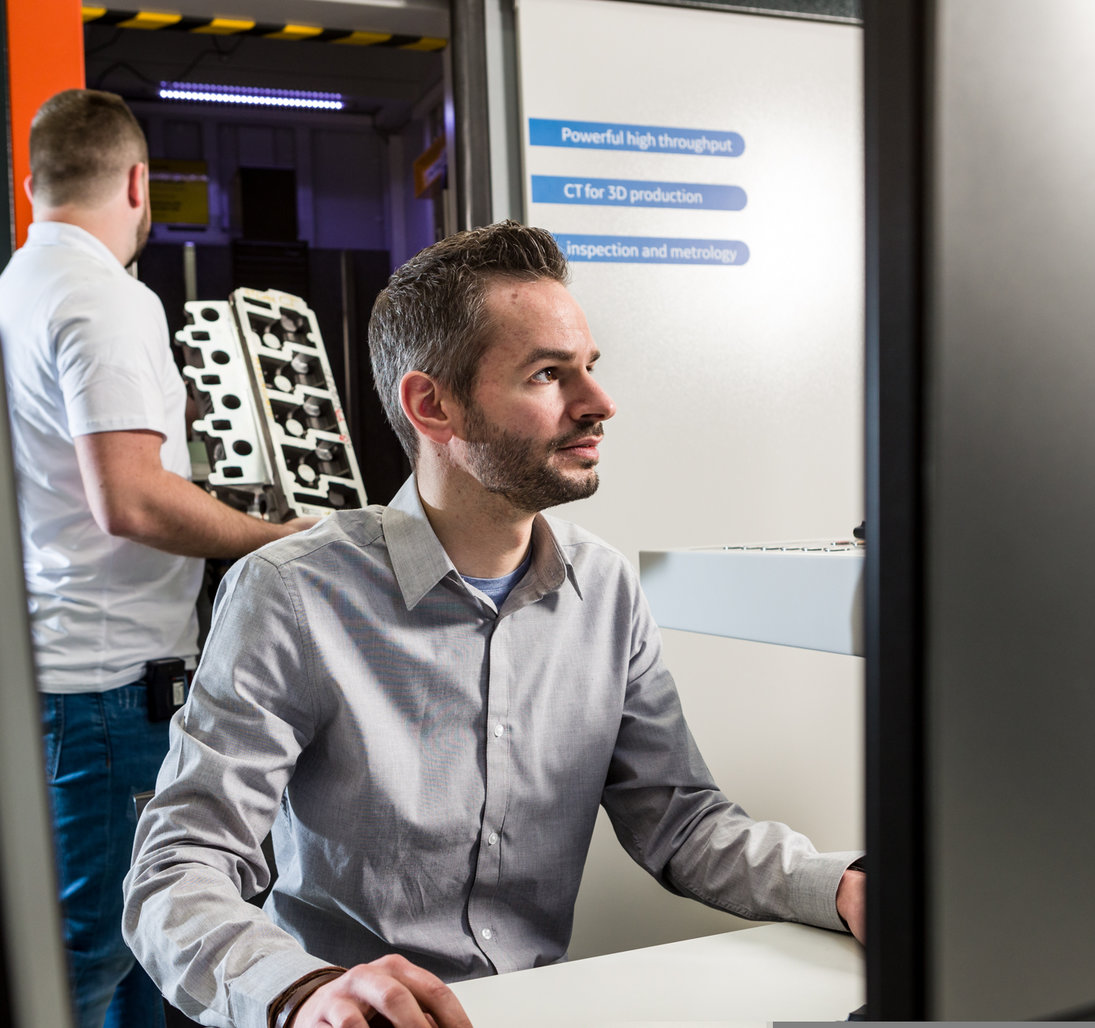
The Quick|pick manipulator of the high-speed configuration HS even allows fully automated CT evaluation of large batches, e.g. to scan up to 25 turbine blades without any operator action within approx. 2 hrs. The system offers industry-leading sample size, flexibility, and maximum penetration power for high absorbing samples at 450 kV
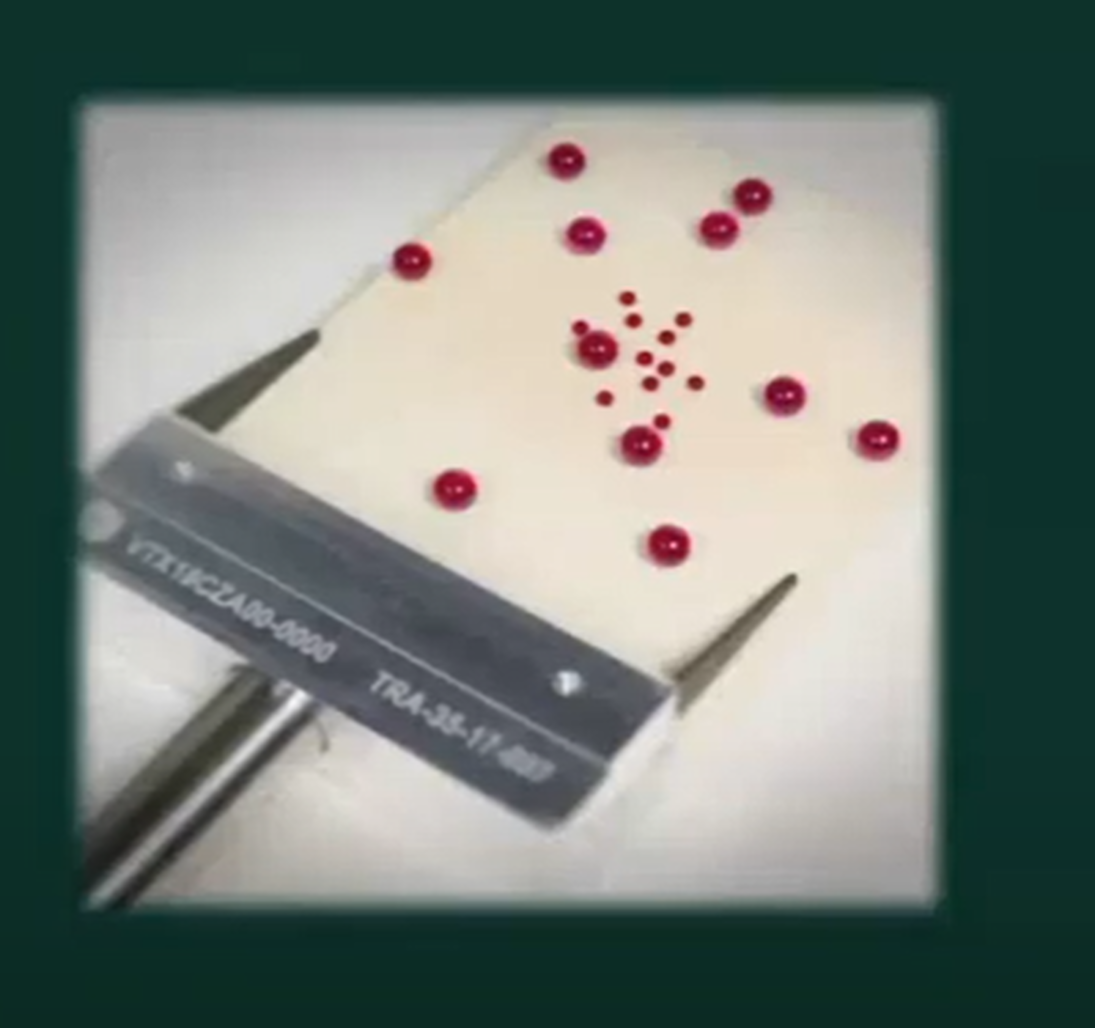
The system guarantees a measurement accuracy of SD ≤ (15 ± L/50 mm) µm according to VDI/VDE 2630-1.3 for reliable revalidation of the system performance and reproducible measurement applications.The Ruby|plate 240 calibration phantom and the compensation of thermal drift effects based on the use of temperature sensors enable automated measurement sequences and precision to a new level of performance for even larger parts.
This enables the improved VDI 2630 compliant accuracy specification and three times faster performance verification of multiple positions - reliably and reproducibly:
- Nominal-actual CAD comparison
- Dimensional measurements / wall thickness analysis
- Reverse Engineering / Tool Compensation
Technical Specifications
Phoenix Datos|x 3D computed tomography acquisition and reconstruction software. Optional 3D evaluation softwarepackages available upon request for 3D metrology, failure analysis, and structural analysis with lowest scatter artifacts.
Yes, the Quick|pick manipulator of the high-speed configuration HS allows fully automated CT evaluation of large batches, e.g. to scan up to 25 turbine blades without any operator action within approx. 2 hrs
The V|tome|x C from Waygate Technologies uses a temperature-stabilized Dynamic 41|200p+ large area detector with superior image and result quality, 410 x 410 mm (16” x 16”), 200 µm pixel size, 2036 x 2036 pixels (4 MP), extremely high dynamic range > 10000:1.
Alternatively the Dynamic 41|100 with the same size and dynamic range but with 100 µm pixel size resulting in 16 MP can be used.
If necessary optionally detectors a LDA detector package („fan”: 16 bit Linear Detector Array with 820 mm sensitive width, 2050 pixels, 400 µm pitch) is available also in combination with a Dynamic 41 detector.
Scans are possible up to a sample dimension of Ø 500 mm x 1000 mm (max. scan diameter ~500 mm) and 100 kg (for HS version: 270 x 310 mm / up to 10 kg rotation unit and 100 x 125 mm / up to 3 kg Quick|pick gripper), depending on the application.
The V|tome|x C employs a radiation safety cabinet for full protective installation without type approval according to German StrSchV/StrSchG and in compliance with French NFC 74 100 and US Performance Standard 21 CFR Subchapter J. For operation, other official licenses may be necessary.


