Measure and control with insight using 3D Precision Metrology
Industrial Metrology: 3D Scanning Solutions
Unparalleled 3D precision for complete confidence in your products
Knowing the safety and reliability of parts and assets you produce requires highly precise measurements throughout the manufacturing process. Waygate Technologies' advanced high precision industrial Computed Tomography metrology systems are able to measure even hidden internal surfaces with a precision of just a few micrometers, capturing high-precision geometries with a single scan.
Measuring the inaccessible
Waygate Technologies’ CT scanners provide high-resolution insight on internal geometry deviations out of reach for even state-of-the-art coordinate measurement machines (CMM). Our solutions range from small parts scanners to industrial, production-line capable and gantry-based robotic scanners to deliver whatever inspection metrics you require.
Reducing the operating costs
Our solutions offer you access to the right tools to complete truly automated calibrations and system validation tests, anytime, without the need to call a technician. Increase efficiency with 3x faster and easier system calibrations using our patented Ruby|plate phantoms and True|position technology. We also make upgrades easy, with Metrology|edition 2.0 optionally available now for the Phoenix V|tome|x M microCT scanner. Metrology upgrades conforming to VDI/VDE standard 2630-1.3 are also available for Phoenix V|tome|x C450.
Achieving more productivity and higher inspection quality
Proprietary technology such as Waygate Technologies’ Scatter|correct enables scanning of scattering materials with the same artifact-free precision like fan beam CT, but with many times faster cone beam CT. Plus, reduce downtime with 3x faster and easier system calibrations using our patented Ruby|plate phantoms.
Solving the toughest challenges in your industry

Aerospace
Inspection & NDT solutions for the aerospace industry

Research & Development
Our radiographic testing and industrial CT equipment

The Phoenix Microme|x Neo and Nanome|x Neo provide high-resolution 2D X-ray technology, Planar|CT and 3D computed tomography (CT) scanning in one system. They are ideally suited for industrial X-ray electronics inspections in process and quality control for greater productivity, failure analysis, quality of your products, and R&D.

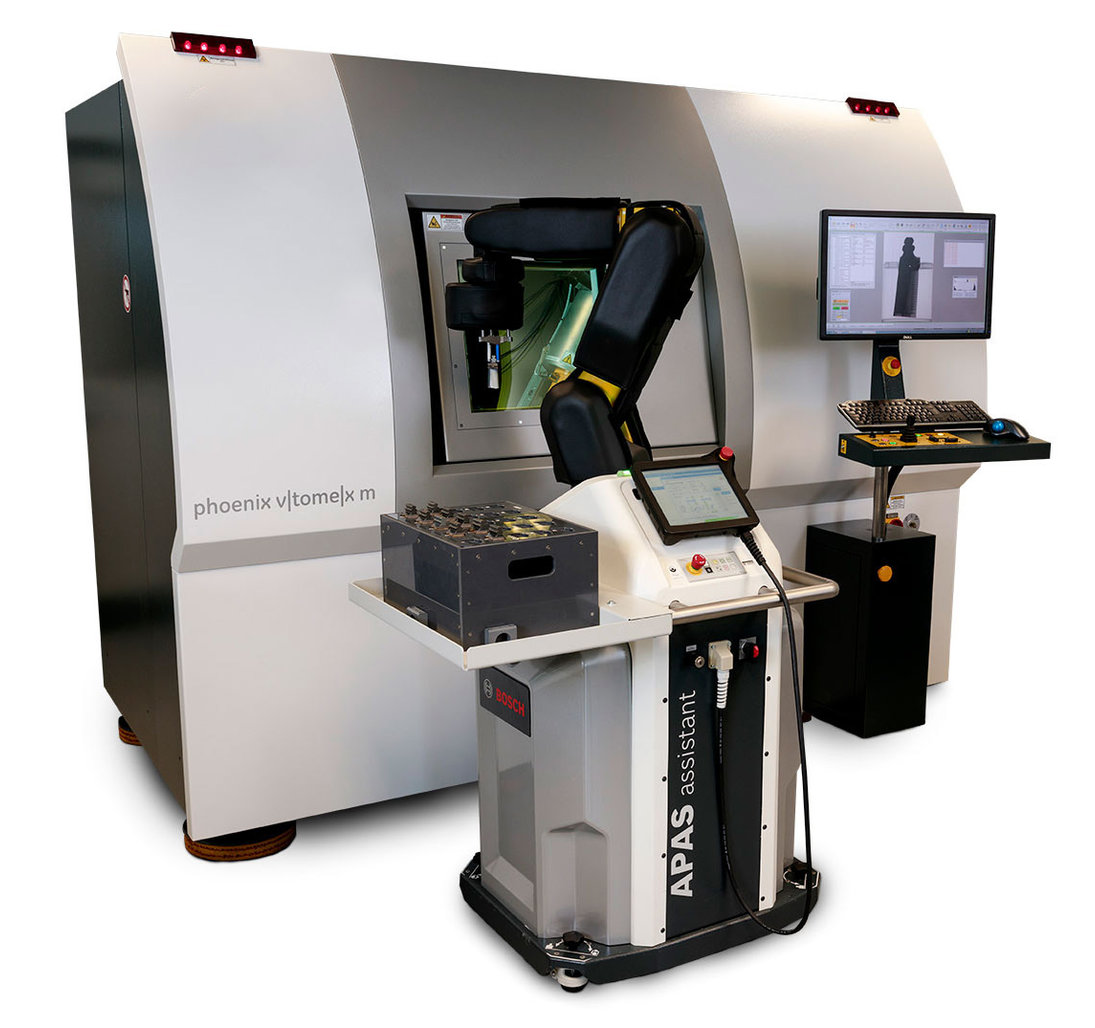
The Phoenix V|tome|x M is Waygate Technologies most versatile and precise X-ray microfocus CT cabinet system for 3D metrology and analysis. This highly productive Dual|tube scanner with its 300 kV microfocus and optional 180 kV nanofocus X-ray tubes delivers improved accuracy at unprecedented speed.

The Phoenix V|tome|x M Neo is a next-generation industrial CT system, building on the success of the widely-used Phoenix V|tome|x platform with over a thousand installations worldwide. It offers remarkable advancements, including improved image results, an expanded scanning area for larger and heavier samples, variable focus detector distance, and a new cabinet design for enhanced flexibility and accessibility.

The Phoenix V|tome|x C is a high performance compact industrial 450 kV Minifocus CT system for inspection and 3D metrology of a wide applications range such as large light metal castings, turbine blades, AM parts etc. The V|tome|x C450 is also available with Mesofocus tube for more resolution.
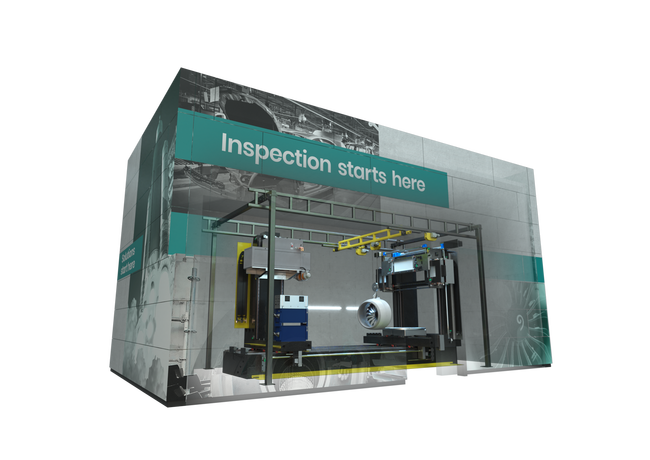
The combination of penetration power and Waygate Technologies' advanced CT features such as Scatter|correct technology make this CT system predestined to scan extremely large, heavy and high absorbing complex parts and assemblies with unmatched speed, precision, and ease of use — enabling faster, more precise inspections than ever before.


