Radiographic Testing and Industrial CT Solutions
Waygate Technologies has made Radiographic Testing (RT) and Computed Tomography (CT) solutions more accessible to the industrial world, allowing you to attain peace of mind while also leveraging the cost savings of Non-Destructive Testing (NDT).
With the widest range of x-ray inspection and CT solutions available today – from mobile conventional film, computed and digital field radiography solutions (CR & DR) to 2D X-ray inspection systems and 3D computed tomography – we’ve brought X-ray and CT inspections and metrology to the production floor, designed the most rugged, productive and reliable X-ray scanning solutions, and more. All to help you save time and money while delivering the safest and most reliable product possible.
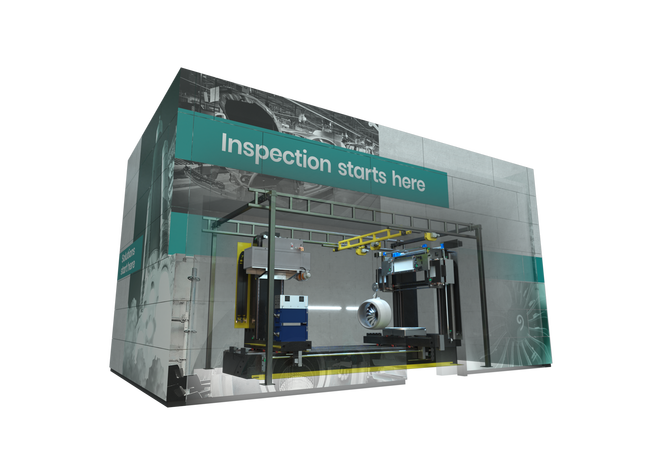
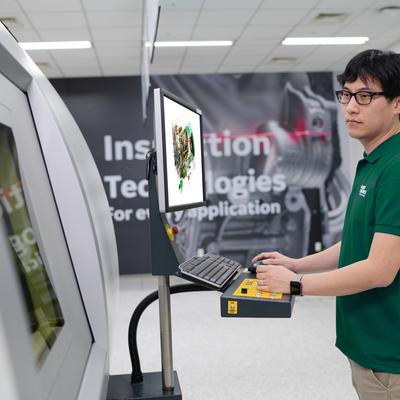
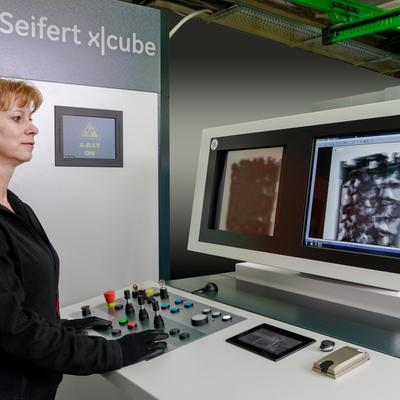
Automating inspections on the production floor
Waygate Technologies’ powerful X-ray inspection and CT technologies aren’t just for lab environments anymore.
With support from our experienced team, we can help you integrate 2D and 3D inspections into your manufacturing processes to quickly reveal hidden defects, changes in thickness, assembly deviations, and other components that are otherwise invisible.
Reducing errors, increasing productivity, enhancing quality, and saving time.
NDT solutions for peace of mind
Even in the most demanding industries and environments, our diverse and globally-proven collection of mobile and stationary industrial radiographic inspection solutions deliver fast, reliable results.
Wherever your Non-Destructive Testing (NDT) needs take you: in the lab, the production floor, or even the field, Waygate Technologies has a solution that will allow you to get the greatest degree of accuracy in the most efficient way possible.
With unique innovations, exclusive detector technology and shorter exposure times, you can get the accurate inspection results you need for the highest levels of both safety and productivity.
Offering experience and technology where and when you need it
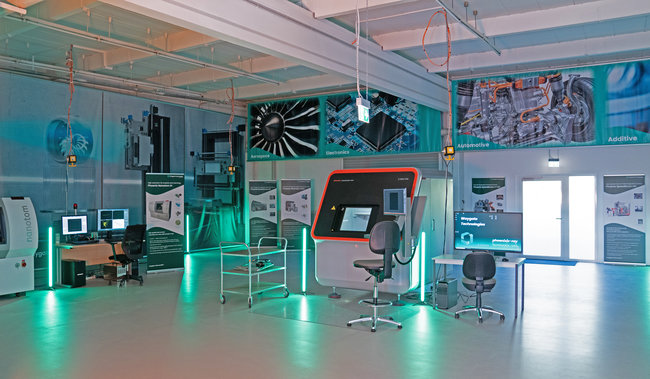
Waygate Technologies also offers on-demand use of our proven, state-of-the-art industrial radiography equipment at our Customer Solutions Centers (CSC) all over the world.
See and try our latest X-ray 2D and 3D CT inspection technologies for yourself, or ship us your parts and let us handle your inspection needs.
From a single part or prototype inspection to training and data analysis, we’re here to help.
Lifetime Solutions
Our service solutions provide state-of-the art support through the lifecycle of our equipment.
From installation to dismantling, our team provides both proactive and predictive services as well as long-term performance optimization to maximize the outcomes for your operation.
Inspections are a huge investment in a product. We’ve turned them into added value by helping optimize processes, maximize uptime, predict failures, and improve product design.
Industrial X-ray & CT Scanners
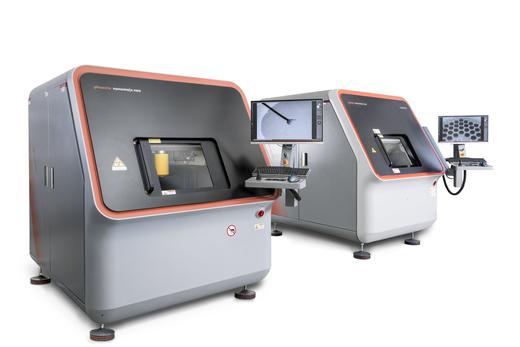
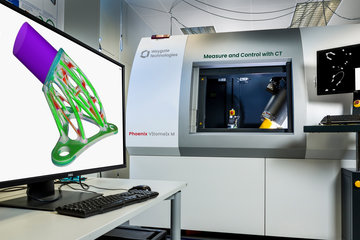
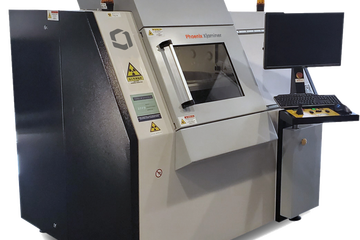
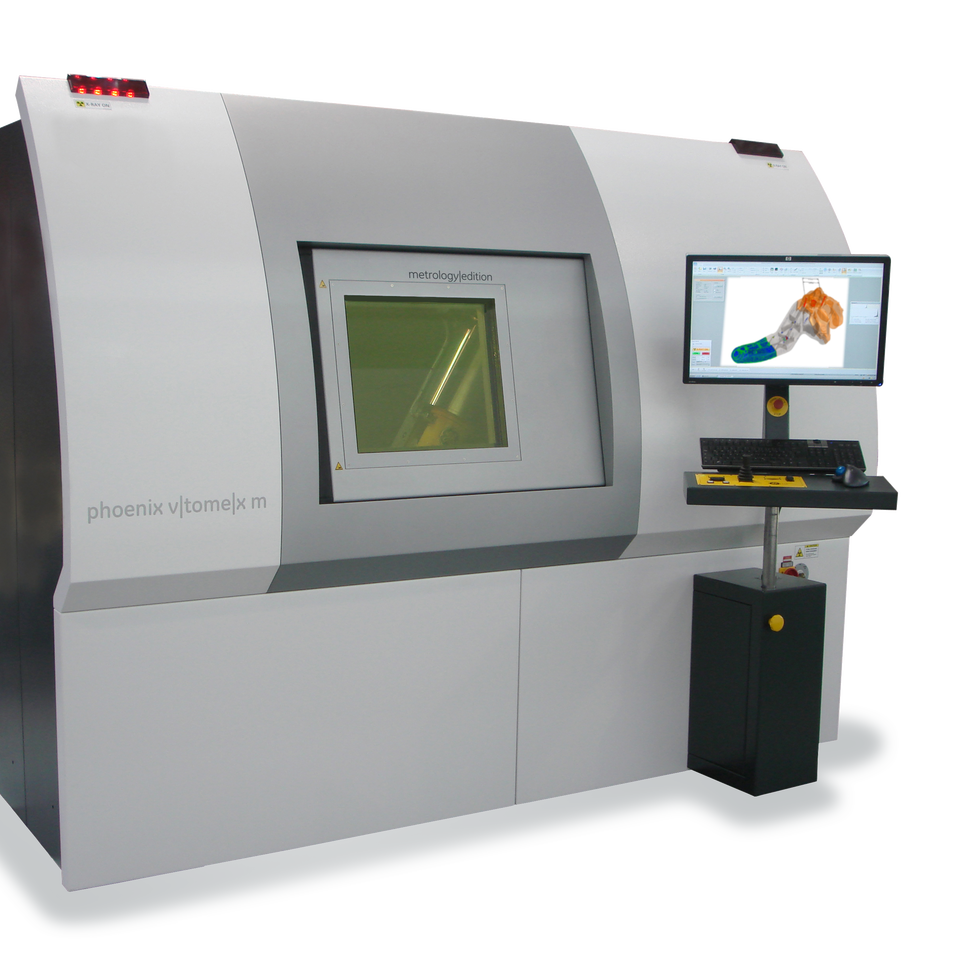
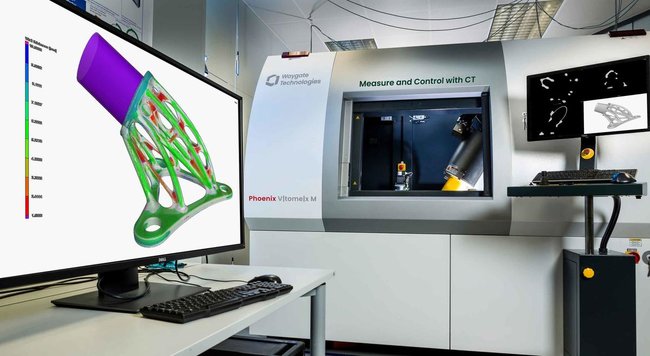
A range of 2D X-ray inspection and 3D computed tomography (CT) solutions for many inspection applications, from precision nanoCT® and metrology tasks in the lab to linear accelerator based high energy CT of high absorbing large samples to high throughput inline CT inspections on the production floor.
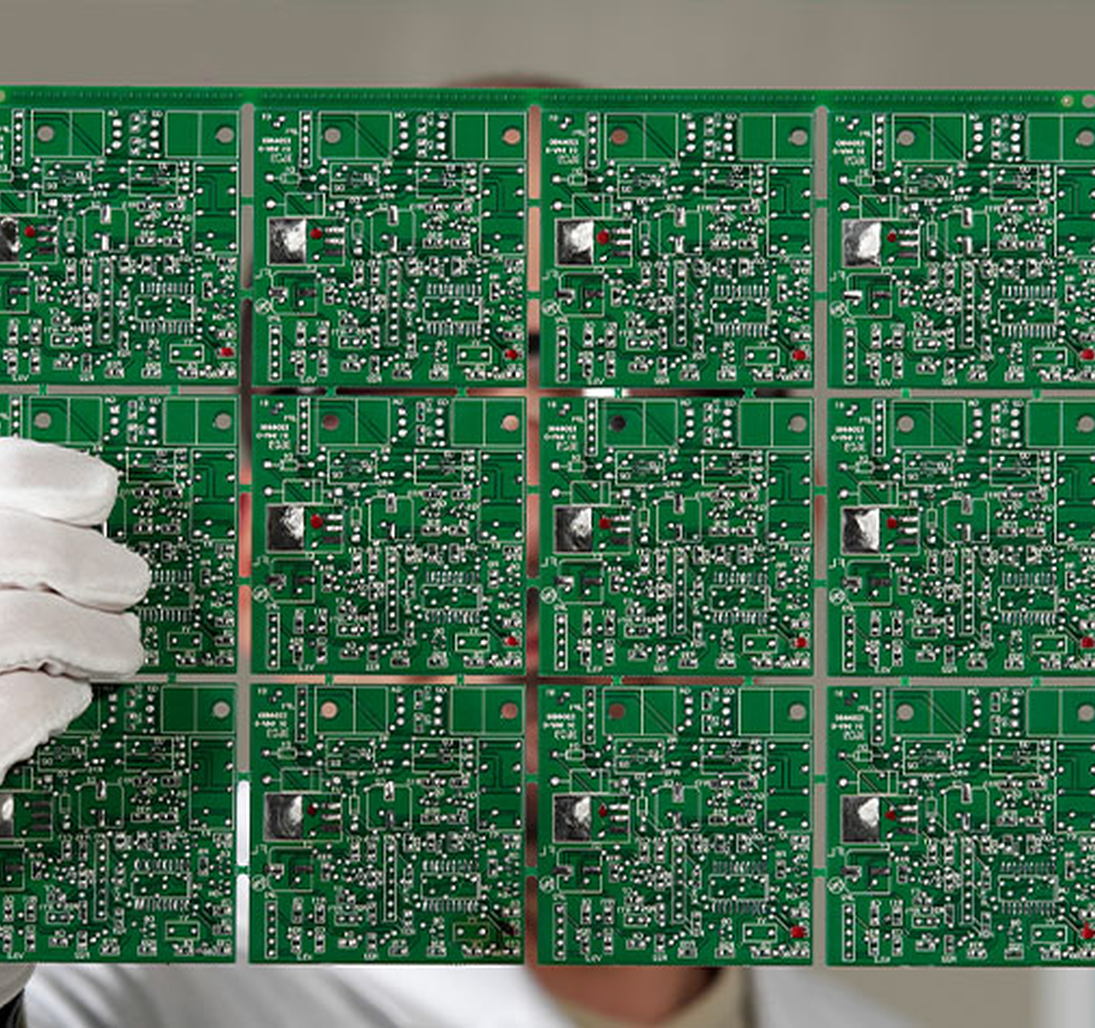
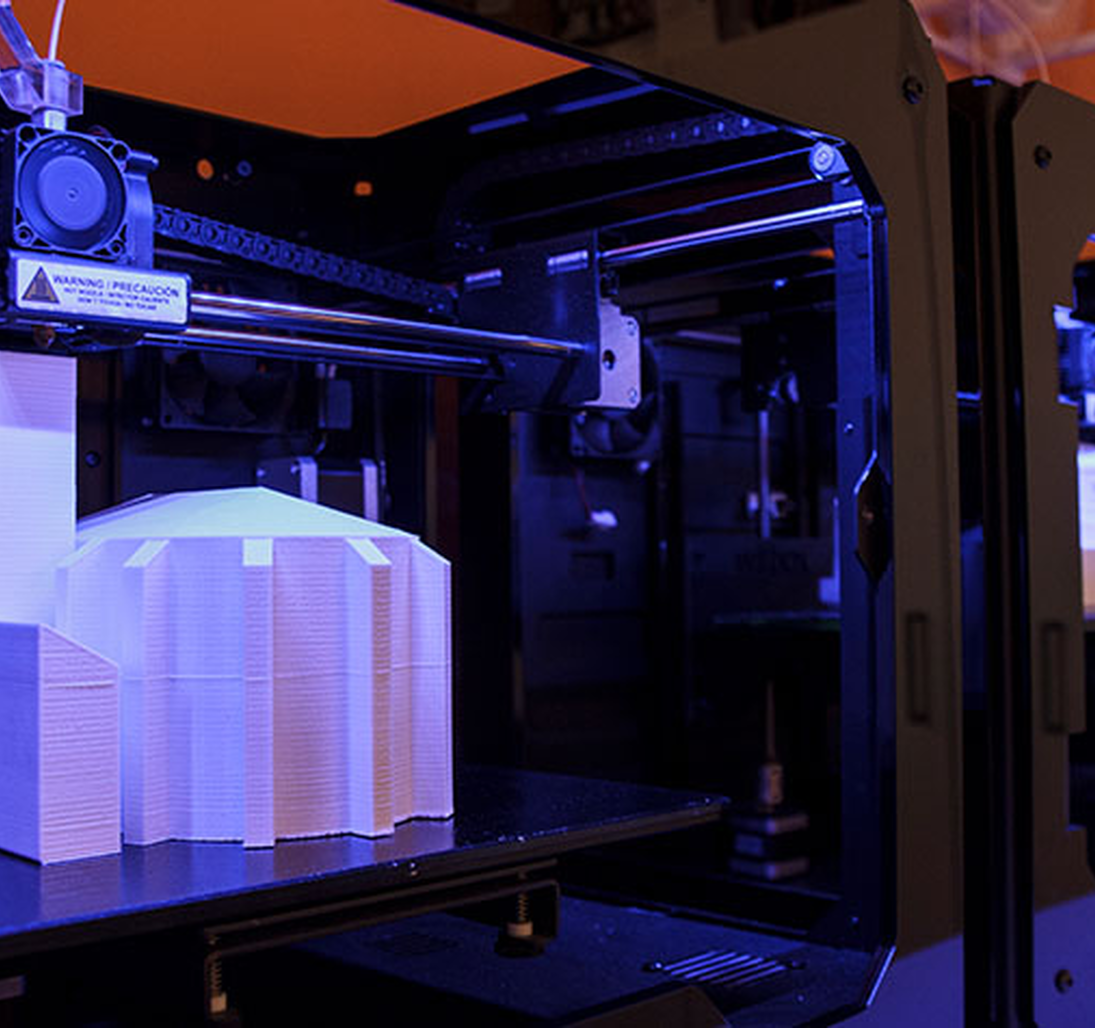
With our tailored CT solutions, precisely inspect raw materials, prototypes, light metal castings, batteries, electronics, plastic injection moldings, additive manufactured parts, and final assemblies with ease and precision never before possible.
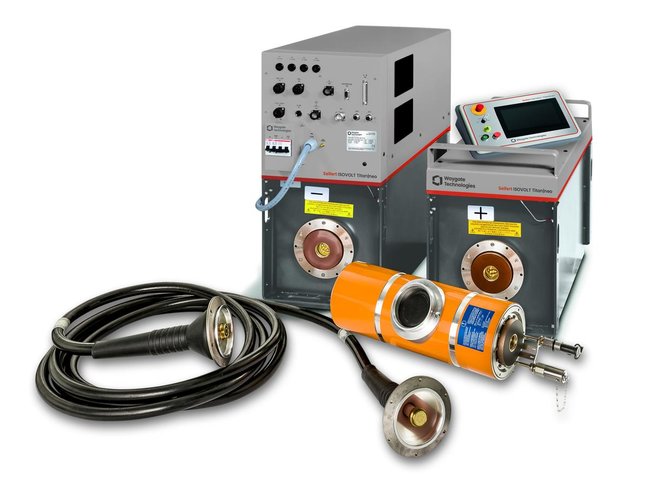
Industrial X-ray Tubes and Generators
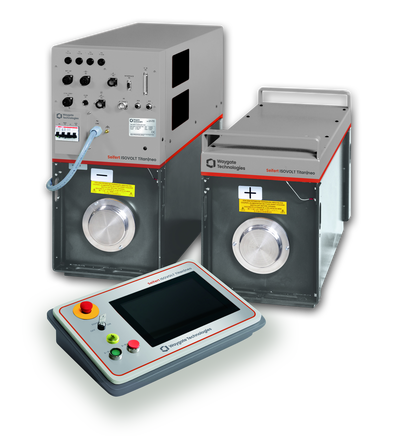
Proven, powerful Seifert X-ray equipment including portable, mobile and stationary X-ray generators and tubes, which are designed for the highest throughput, image quality and longevity – built to last and improve productivity in the field.
High X-ray doses and shortest exposure times mean higher inspection productivity and lower operating costs while giving you the most accurate results possible.
Industrial X-ray Film, Equipment, and Supplies
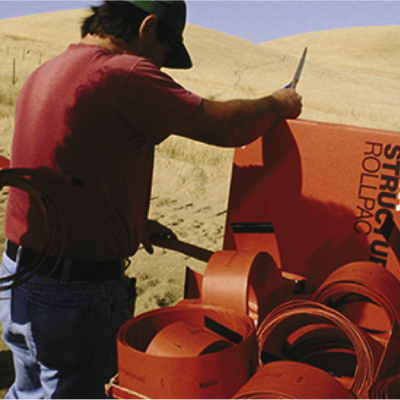
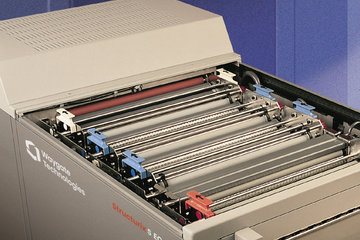
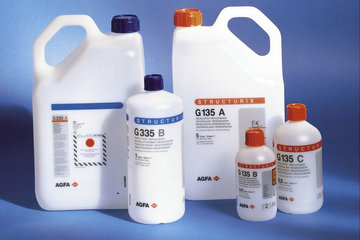
Radiographic films, processing equipment, chemicals, and quality assurance tools work seamlessly together for high quality, consistent inspections no matter the complexity of your testing challenge.
We offer X-ray film solutions for both standard and special applications, along with a host of tubes, generators, and scanners to cover any Radiographic Testing (RT) scenario you may encounter.
Radiographic Testing (RT)/X-ray Inspection falls under the umbrella of non-destructive testing (NDT) and is a method that examines the target sample by penetrating it with X-rays and in so doing highlights deviations in material density that can signal an imperfection that needs to be addressed.
Radiography uses X-rays and gamma-rays to produce a radiographic image of the target sample, allowing the technician to observe any changes in material thickness, internal and surface defects, and even assembly details (i.e. welds, joints, connectors) to ensure the highest levels of quality and safety in your production.
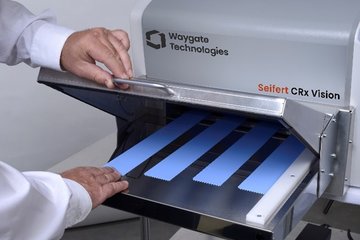
One of the key benefits of Radiographic Testing (RT) is that it generates a permanent, hard-copy (in the example of x-ray film) record of the scan for a given target sample. In the example of a digital sensor/detector, the record is a digital one that can be stored locally or remotely and does not require the processing and storage needs associated with x-ray films.
What are X-rays?
X-rays are a highly-energetic form of electromagnetic radiation with a wavelength in the range of 1nm to 1 pms, approximately 1000 to 1,000,000 times smaller than the wavelength of light. Due to their being highly energetic, X-rays are able to pass through materials that absorb ordinary visible light.
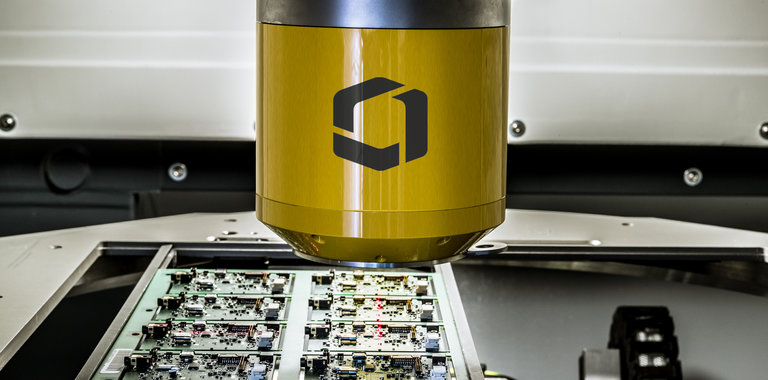
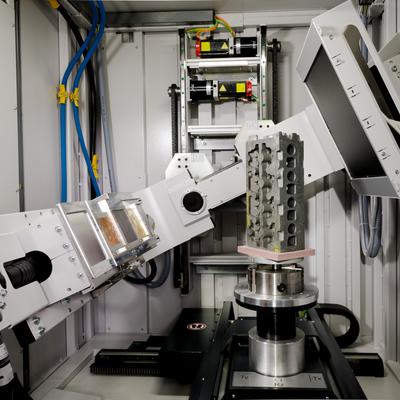
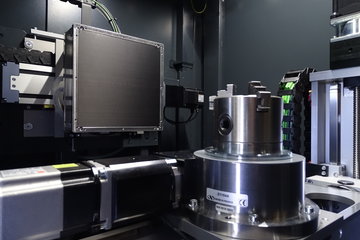
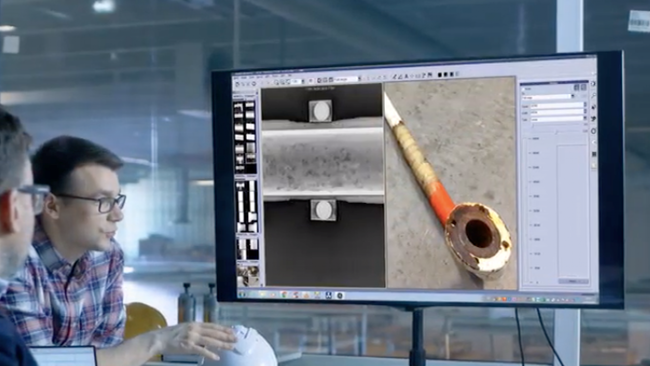
In general, X-ray inspection systems consist of a radiation safe enclosure, the radiation protection cabinet, containing, in linear alignment, the X-ray tube, and the X-ray detector. A remotely controllable manipulating unit allows the user to position the sample within the beam. The final X-ray image is displayed on a monitor for computerized image processing. In addition, the X-ray system may be outfitted with an electronic program control allowing automated sample inspection. The X-ray image shows object features based on differences in material density.
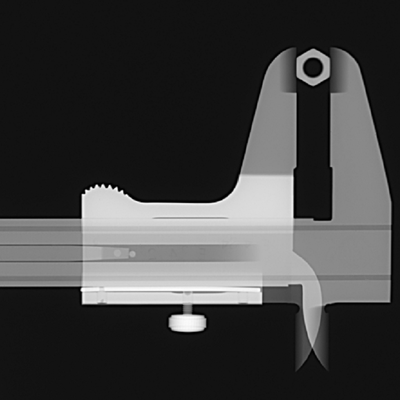
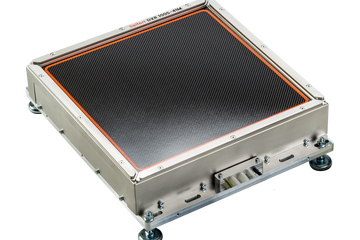
Part of the X-ray spectrum is absorbed when passing through an object. The thicker or higher in density the object, the more X-rays are absorbed and do not pass through. Those X-rays that pass through the object strike a detector where an X-ray image is created. This image is made up of different shades of gray depending upon the intensity of the incident rays: Parts of the object that are thicker or materials that are higher in density, such as iron, copper, and lead, appear darker than less dense materials such as plastics, paper, or even air.
This film is then processed in a darkroom - much like typical photographic film - and the various degrees of radiation captured by the film are represented as different values of white and black. X-rays not absorbed by the target sample will cause exposure of the radiographic detector. These areas will appear dark. Areas that absorbed higher levels due to higher absorbing or more dense material will appear light.
In this way, regions of your target sample where uniform density has been changed by imperfections, such as porosity, cracks, or misalignment will appear as dark lines, thus making it easier for a skilled technician to detect.
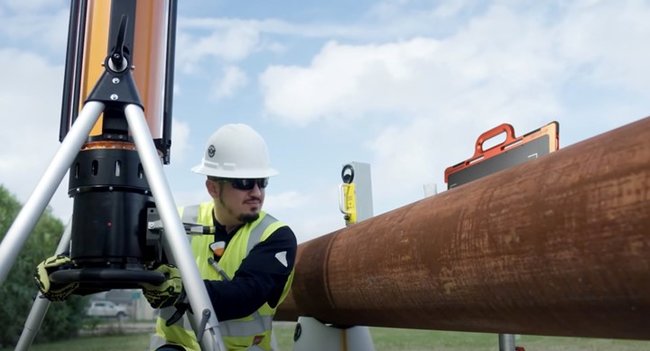
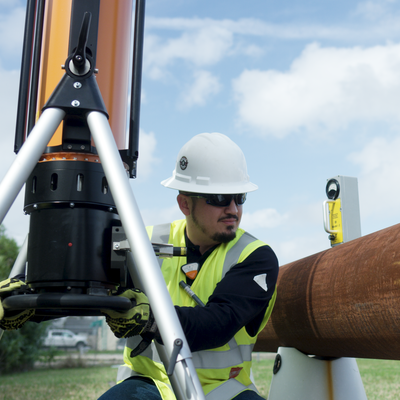
Radiographic Testing (RT) is primarily used in the testing and grading of welds on piping, pressure vessels, storage containers, pipelines, and structural welds.
Really anything that is joined together with a weld that is expected to bear some sort of pressure or load is subject to radiographic testing to ensure the integrity of the welds.
Other tested objects include machined parts, plate metal, or pipe walls (especially where corrosion is a concern).
Ceramics, light metal castings, or additive parts such as those used in the aerospace and automotive industries are also tested via radiography.
Radiographic Testing (RT) can be achieved via X-rays or gamma rays. X-rays are produced via an X-ray tube, while gamma rays are produced by the introduction of a radioactive isotope.
These radiation sources use much higher energy levels than those associated with electromagnetic waves.
Because of the ionizing radiation involved in radiography testing, it is important to make sure proper safety guidelines are communicated and adhered to so as to prevent exposure.
Radiographic Testing (RT) offers several benefits over other forms of NDT. Some of those benefits are:
- a record of the scan that can live either on film or digitally
- ability to look through the whole sample
- a higher level of identification of a defect
- a lower level of skill is required of operators and inspectors
A well-trained radiographer can not only accurately locate a defect with RT, but can also identify its type, size, and location.
When it comes to disadvantages, the obvious is the fact that you are dealing with relatively dangerous materials that can cause adverse, long-term health effects when exposed to radiation.
Additionally, traditional RT solutions, especially film-based ones, require a significant amount of time before one can generate a usable image, thus elongating your production cycle.
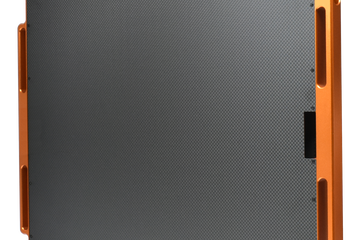
This is one reason why so many organizations today are embracing digital detectors which sidestep the processing time associated with traditional x-ray film.
X-Ray Generators
X-ray generators produce X-rays via electron emission in a vacuum. After hitting a target material, X-rays are emitted and directed towards your target sample. In the sample, the x-rays are absorbed or scattered according to the target's material and density. After having passed through your target sample, the photons are then captured by a detector, such as x-ray film or a digital detector.
Digital Conversion
Many organizations today are moving away from traditional film-based radiography to a digital sensor-based solution in an effort to save time, reduce costs, and improve overall NDT performance.
Ultrasonic Testing (UT) and Eddy Current Testing (ECT) are two leading methods of NDT today due to enhanced signal quality, flexible probing options, and the fact they do not involve radiation or dangerous chemicals.
UT relies on ultrasonic waves to probe through your target sample and detect any deviations therein, while with ECT, an electron current runs through your target sample thus generating magnetic fields which highlight material density and thickness deviations.
Both, ECT and UT (and particularly phased array ultrasonic testing) are much safer than RT, and in certain applications can be less time-consuming.
Portability is also a hallmark of ECT and UT solutions as they tend to be smaller and easier to operate, thus lending themselves towards use in the field whereas RT is geared more towards laboratory or production line applications. That being said, there are several portable RT solutions today that can be deployed into the field with success.
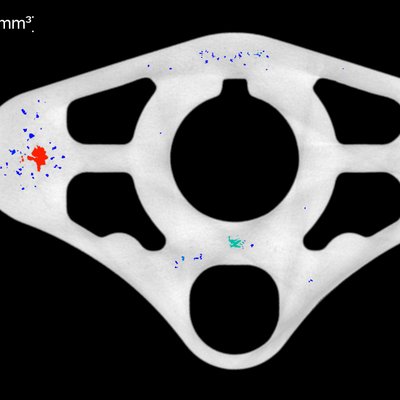
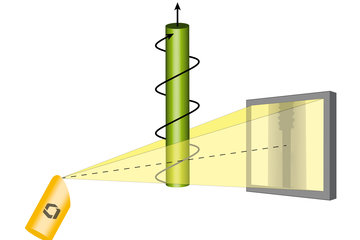
Computed tomography provides a three-dimensional, spatial image of the object under inspection which can be virtually sliced in any direction. The CT-image shows different materials or density deviations (e.g. porosity) as different shades of gray (or as different colors).
To generate a three-dimensional image, a large number of two-dimensional X-ray images (or slices) are taken around a single axis of rotation (360 °). These X-ray images are then reconstructed as volumetric representations of structures (3D) using a complex reconstruction algorithm.
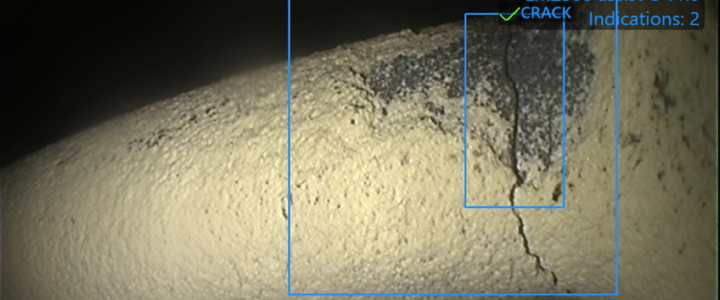
Mentor Visual iQ is changing the way to inspect engines
Ease of use, high quality build, long battery life and clear video quality lead to unprecedented productivity gains. Learn how airlines all over the world are revolutionizing their inspection processes to drive efficiency and confidence in order to provide their customers with peace of mind.
Additive and Composite Part Inspection & Metrology
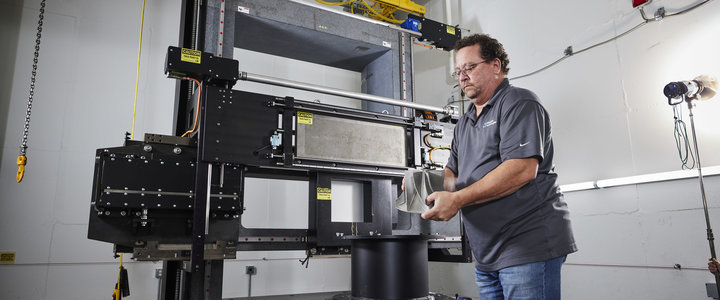
Waygate Technologies offers a wide range of large and small CT systems that can accelerate your rate of inspection of additive and composite parts, as well as, inspection of small batch prototypes and light metal castings. Automotive manufacturers are turning to our Phoenix | X-Ray CT solutions, providing high throughput at high inspection quality levels.
Waygate Technologies offers a wide range of products and services to drive efficiency and safety
From weld inspections, gas turbine inspections, pipeline inspections, to Predictive Corrosion Management (PCM) solutions, leveraging multiple products within our portfolio Waygate Technologies provides oil and petrochemical companies around the world the necessary tools to maintain optimal performance levels in their plant and offshore assets.


